Food Blog Dot Com

Food Blog Dot Com is written
by Lin Ennis, a writer passionate
about good food, healthful
food and food as medicine.

( Food Lovers Only )

HOW TO PEEL A BANANA

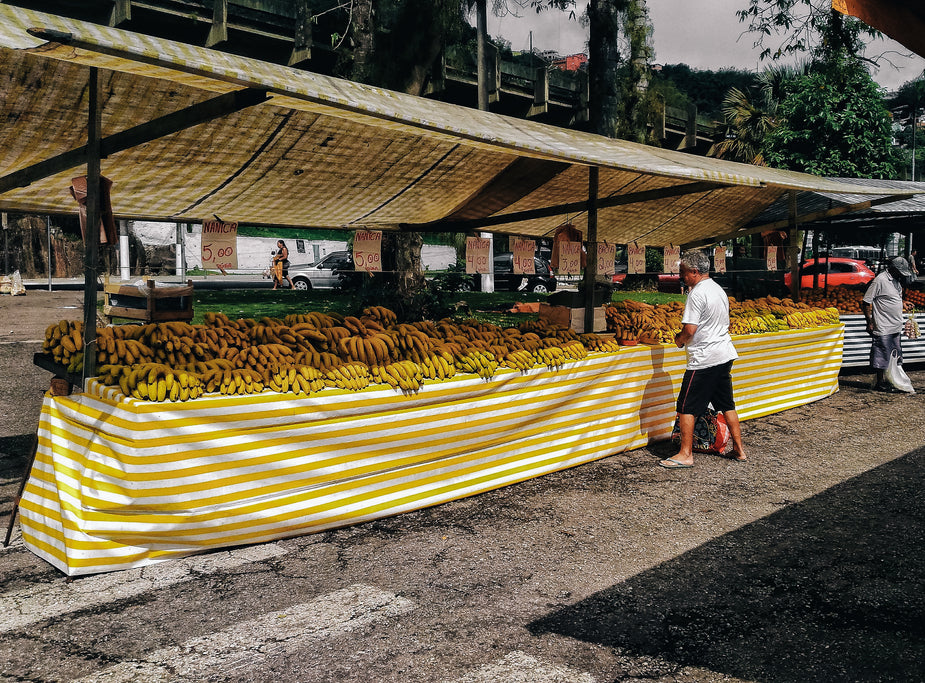
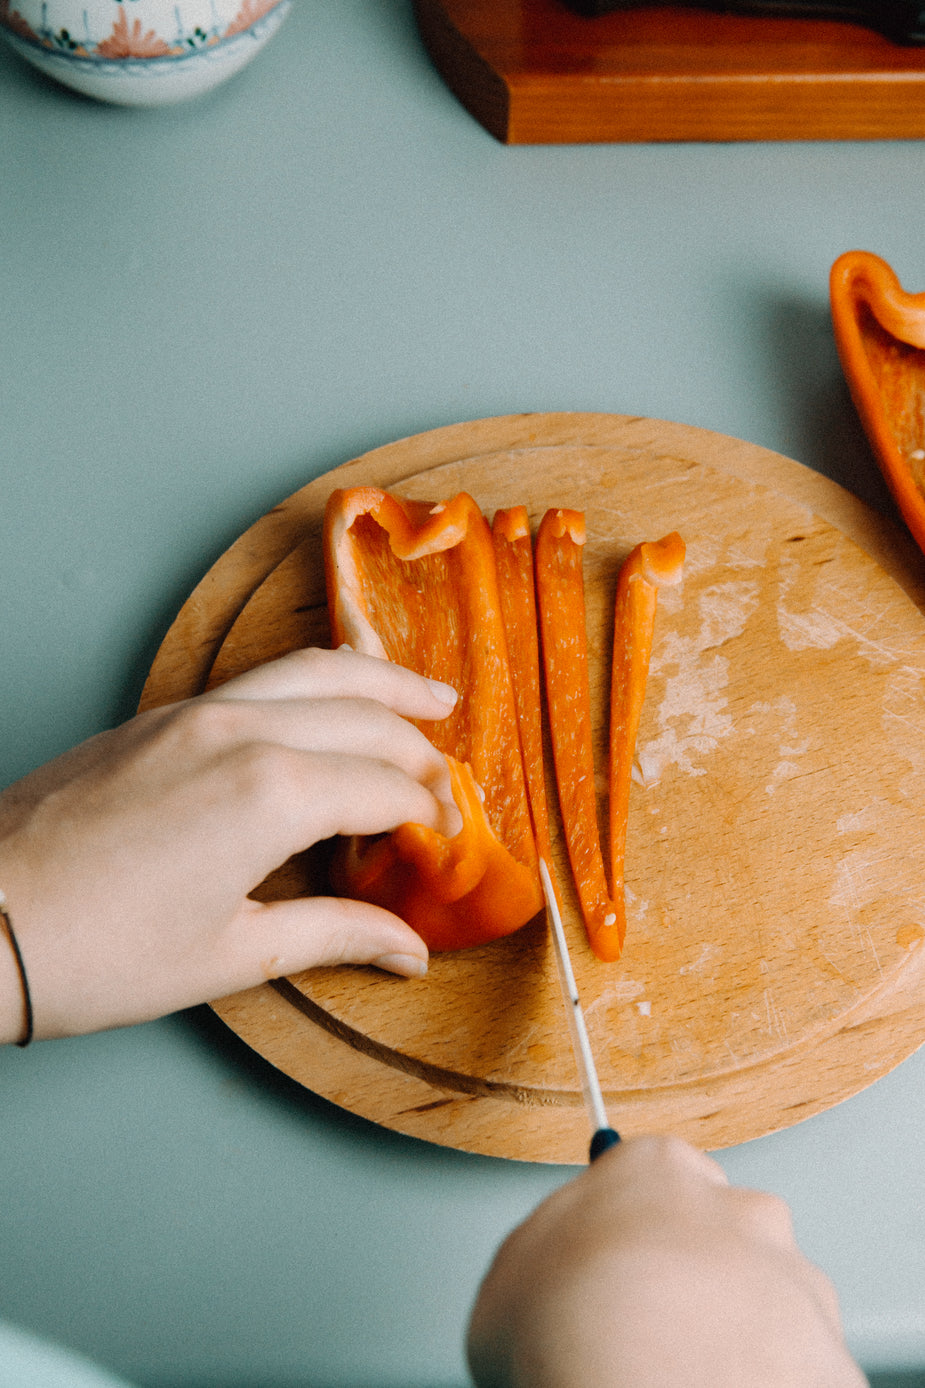
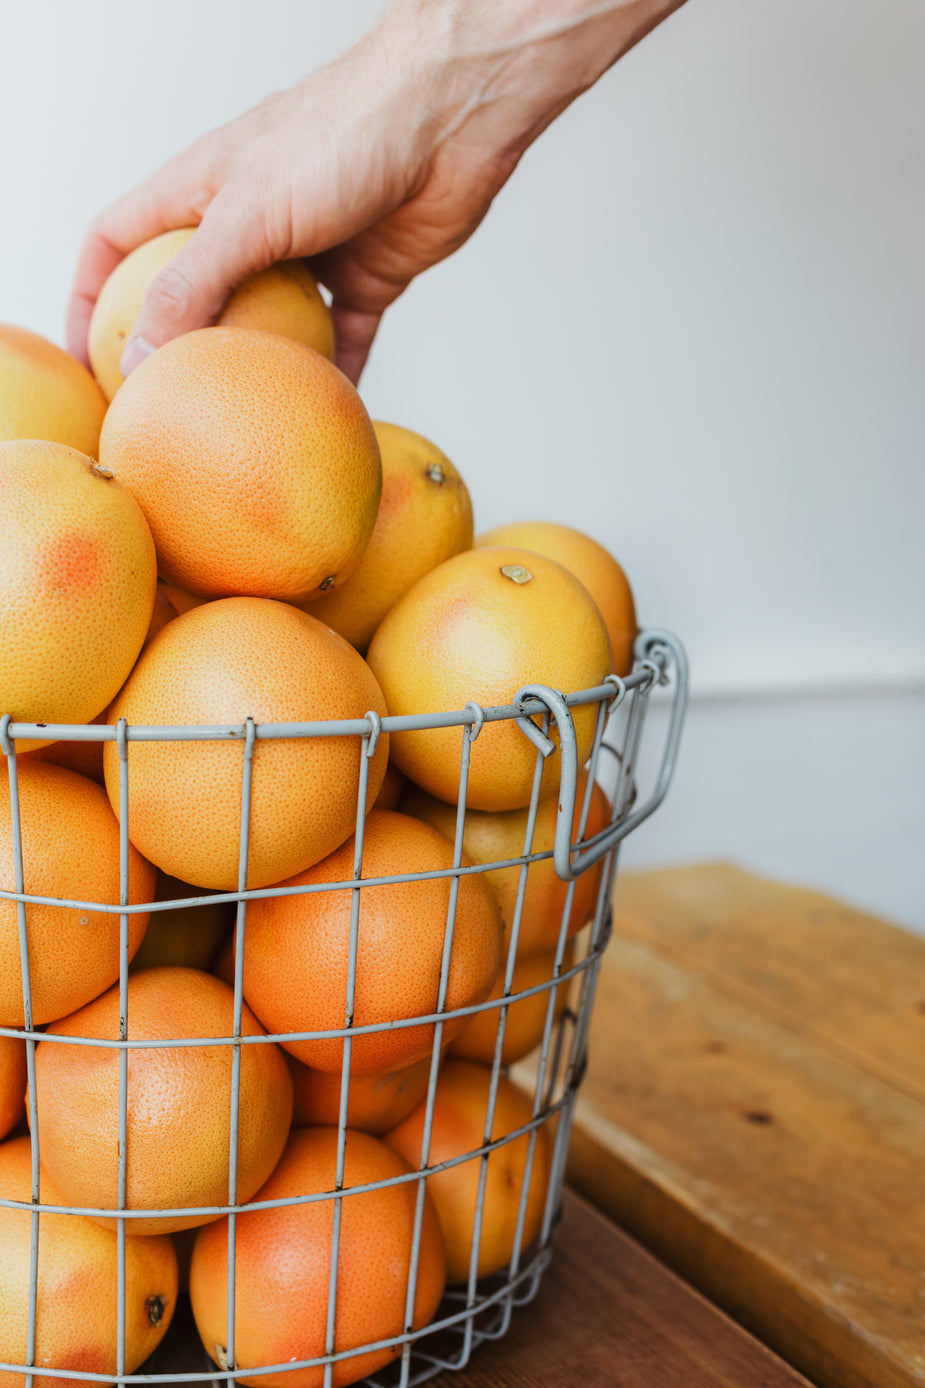
When serving my 12-year old nephew and his playmate bananas with their lunch sandwiches, I asked the boys, “Who’s smarter – you or a monkey?” Monkeys peel bananas from the blossom end, not the stem end. Pinch the little brown tip between your thumb and forefinger, and peel back the skin toward the stem end. The boys tried it, and this is what they found: 1) Bananas are easier to open from the bottom. 2) They don’t require a slit to start peeling without crushing the fruit, and best of all… 3) The strings come off with the peel rather than being stuck to the banana, requiring an extra step to avoid eating that bitter part. I wanted to show a picture of a cute chimp grinning (like a banana) while eating a banana, but this photograph by Spatz of how bananas grow on the tree is so beautiful, I chose to share this with you rather than a stereotypical picture. WASH FRUIT BEFORE PEELING Wash bananas before peeling them! Why? Because your bare hands are going to transfer pesticides and bacteria from the skin to the fruit when you take the fruit in the same hands that just picked up the banana and peeled it. Even if you buy organic bananas that are pesticide free, banana slugs, banana spiders, the human hands that cut and packed the bananas, and the human hands that unpacked and shelved the bananas have been all over them. Need I remind you bananas do not grow in countries with the highest level of public health and hygiene awareness? There are no “Wash your hands after using the bathroom and before returning to work” signs in banana plantations. I forgot to mention banana rats. Dr. Katz, who writes for O magazine, says all fruits should be washed under running cold water. Special food washing detergents are unnecessary. On thick and rough-skinned fruit, like oranges, he says “Use a Brush,” and make sure you run that brush through the dishwasher regularly. OK, that’s a new one on me. I rinse off grapefruit, oranges and avocados before cutting or peeling them, but I didn’t think about getting into the dimples with a brush. Yikes! That’s more work. But you’ll remember it this way: whatever has touched the skin part that you’re about to remove and throw away will be transferred by your own hands to the naked fruit you’re about to touch with those same hands as you prepare and eat it. Picture the sanitary and health conditions of all the people who may have touched that fruit–wash that off! Of course, monkeys don’t wash their bananas, but they eat lice picked out of each other’s fur, too! Photo used by permission of the photographer Spatz through WikiCommons

STUFFED PEPPERS

Intending to roast more red peppers, I picked up three very large ones at the market for $1 each, day before yesterday. They looked so lush and inviting on the kitchen counter, my partner suggested we have stuffed peppers for our special Friday night dinner. That’s how yesterday’s lengthy post came about…I was thinking peppers. You can see I had to encourage them to play snuggle together in my 7 X 12 ceramic baking dish. I was rushing to get them in the oven on time, so I didn’t trim the white membranes carefully with a knife. What I pulled out with my hands is all I removed. The seeds and stems get tossed out the back door for whatever wildlife browses by: Western and Eastern cottontails, mule deer, collared peccaries, and, of course, squirrels who might like the seeds. I mentioned tenting the dish. Of course, if your baking dish has its own cover, aluminum foil is unnecessary. However, acidic foods should never bee cooked in aluminum. If you cover lasagna (or our tomatoey stuffed peppers) with aluminum foil, whether in the refrigerator for a few days or in the oven a few minutes, there will be some breakdown of the aluminum by the acid. On foil, that shows up as dark pin pricks. On the food, it shows as white spots. While some online cooks and Extension Service Officers say the jury is out on whether eating aluminum is harmful, for me it is enough that it is called into question! “Is this poison?” you ask. “We don’t know,” we say. “OK, I guess I’ll eat it.” Is Homer Simpson your nutrition advisor? After the ends of the foil are secured to the dish, it’s easier to pull up the middle. Your tent doesn’t have to have vaulted ceilings like the one shown here. Just keep the foil off the tomatoes! We baked ours 2.25 hours at 350. I turned it up to about 375 for 10-15 minutes near the end of that, because these peppers were huge, with thick skins! After they fork-tested tender, we sprinkled about 2 teaspoonfuls of finely grated Mexican style cheese on each one, popped them back in the oven, turned the oven off, and waited a bit under 10 minutes for the cheese to melt. They were a big hit! Everyone had seconds!

LOW-CARB STUFFED PEPPERS

Vegetarian stuffed peppers are often stuffed with rice, and I’ve made them that way many times. However, I’ve switched to using MorningStar Farms (MSF) Burger Crumbles – a low-fat, pre-cooked substitute for ground beef. To bind the meatloaf-style mixture together, you can use egg or cheese. Egg makes it taste more like meat, but only slightly so because the seasonings are the real kicker in this comforting dish. I use grated mozzarella cheese as a binder, and it works well with a low-fat version (white cheeses are generally lower fat than are yellow cheeses). We buy grated Mozzarella in a large bag and keep all or most of it in the freezer. (You can keep a small amount in a baggie in the fridge, but air in the bag and warmer temps can make it spoil if you leave it in the fridge too long.) We used to use a blend of yellow and white cheese, but including cheddar within the mixture increases calories per serving. Our favorite recipe is very flexible both in quantity and ingredients. While many people lean toward Italian seasonings, we prefer Mexican. STUFFED PEPPER RECIPE about 30 min. prep, from start to cleanup Also you’ll need: Mix ingredients (just the top set of bullets, please) together in a large bowl. You don’t have to put tomatoes in the mixture, since they will be poured over top, but putting a can in the mixture lowers the calorie count per serving (cut large pieces). The crumbles and cheese can be mixed in frozen; just break apart lumps with a fork or a hammer. Spray the baking dish lightly with non-stick spray. Cut the stemmed tops off the peppers to stuff them whole, putting their caps back on (or not)…OR…halve the peppers. We usually halve them lengthwise, so one pepper makes two servings–and they bake faster. Also, if you halve them lengthwise, you don’t have to buy peppers with flat bottoms to stand on! Stuff the peppers by pressing the mixture into each pepper tightly and fit them like puzzle pieces into the dish. I usually start the stuffing with a spoon, but as the crevices fill, I finish off my pressing by hand. The reason measurements don’t have to be precise depending upon how many peppers you’re stuffing is that you fill the peppers based upon how much mixture you have – either mounding it up high or just filling! (Extra mixture can be frozen for next time.) Pour a can of S&W Mexican Style Stewed Tomatoes over top, making sure the liquid covers the bottom of the dish. Tear off a l-o-n-g sheet of aluminum foil (half again the length of your dish). Form it into a tent so that it does not touch the food. Crimp it to the handles on the dish. (Tomatoes will ‘eat’ aluminum foil; then you’ll ‘eat’ the aluminum in your food. Tremendously dangerous.) Bake at 350 for 90-120 minutes. At our altitude, 4300 ft. above sea level, we bake for at least two hours. This dish is best baked a longer time at a lower temperature, than rushed by turning the oven up. (Even 300 degrees is nice.) If you need to shorten the baking time, parboil the peppers. You can do that in the microwave by placing them in a covered dish (don’t use plastic) with just the water remaining on them after you’ve rinsed them inside and out. Nuke on high for 90 second to 2 minutes. The peppers should show slight softening. Test doneness of the completed casserole by piercing a pepper wall with a fork. We like ours completely soft, but you may prefer more crunch. For a great finish, just before serving, remove the foil and sprinkle a bit of grated cheddar cheese on top. Return to the oven to melt (or brown, if you prefer) the cheese. This is one of our favorite dishes to serve non-vegetarians. They never ask what it’s made of; though, most know I’m a vegetarian. My mother-in-law always asked prior to visiting us if they could expect to have some of my famous stuffed peppers. We sometimes fix a side salad to go with it, but when it’s just us, we may not. I love peas along side. What’s great about this dish: 1. It’s delicious 2.It’s nourishing comfort food 3. It’s high-protein, low carbohydrate 4. It keeps well in the fridge, tastes good as leftovers and can be frozen 5. It’s all about “assembling,” not “cooking” 6. You can put this together at 4:00, and have a steaming, savory dinner almost by magic at 6:00 or 6:30 (depending upon altitude) 7. Can be baked and reheated! Yay!

Toasting Almonds

I’m making one of my new favorite snacks. I learned this from Cheryl in an exercise class. The main ingredient is raw, shelled almonds. A three-pound bag at Sam’s Club or Costco is about $9.00. The secret ingredient is Ume Plum Vinegar. Sound exotic (i.e., expensive)? It’s only about $3.25 a bottle! I found it at our local natural foods store, but it is also available online from Eden Organic. Pour about a pound of almonds into a 2-quart bowl. Sprinkle a tablespoon or two of Ume Plum Vinegar onto the nuts. I don’t measure this. The bottle’s design is perfect for shaking a small amount of vinegar. You can add more, but I don’t know that there’s such a thing as too much. (More vinegar will result in a darker, almost black finished nut; less and they remain golden.) Stir well, till all the nuts are coated. Spread in a single layer on a baking sheet (cookie sheet). Toast in a 350 degree oven (not preheated) for about 20 minutes, until the almonds smell toasted and are crunchy when cooled. (Too little toasting will leave them soft-ish). I’m at 4300 feet elevation, so my altitude may influence the amount of time it takes. I set a timer, but go by the doneness of the nuts…start with 15 minutes. Test by pulling 3-4 nuts out to cool, bite, and decide whether to continue toasting until you get the time that’s right for you. I prefer them slightly undertoasted to overtoasted. If you let them roast too long, they’ll be very dry, almost powdery, while chewing. (Have drinking water handy!) What’s great about this recipe is the almonds come out with no taste of vinegar but with plenty saltiness without your having to add oil to make salt stick! The Ume Plum Vinegar has 1050 mg of sodium per teaspoon! That’s about the same amount as 1/2 teaspoon of table salt. These toasted almonds are a huge hit with guests. People can’t stop munching on them. I keep a dish of them out all them time. Tips:

RED PEPPERS VS. TOMATOES

Bell peppers have been on sale lately. When any color but green is 99¢ or less, I buy them. Red peppers are more expensive than green ones because they’re, well, not green! Green peppers are red peppers that aren’t ripe yet. (I can think of very few foods we intentionally eat in a not-yet-ripe state!) Suddenly the refrigerator has bags of peppers–red, yellow, and orange–tucked everywhere. As I understand it, yellow and orange peppers are cultivars. (Bell peppers can also be white or purple!) I’ve grown bell peppers, and seen them turn from green to red. The redder (riper) they are, the sweeter they are, especially when ripened on the plant. I roasted half a dozen reds, peeled and jarred them. (I just discovered a bag of yellow and orange awaiting roasting!) This has inspired me to find new uses for roasted peppers. Of course, they’re delicious on sandwiches, but what about salads? Tomatoes are so prosaic! Here’s a loose comparison of the nutrition of red peppers compared to tomatoes. I say ‘loose,’ because I’m using Internet results for raw peppers and raw tomatoes, without verifying the variety. I found roasted pepper information, but I didn’t know whether the canned/jarred varieties contained additives, such as oils. My home-roasted peppers don’t. Raw Food Cal Fiber Vit A Vit C Pot Lyc 1 c chopped tomatoes 32 2 1499 IU 23 mg 427 mg 4631 1 c chopped red peppers 46 3 4666 IU 190 mg 314 mg 459 Though I added a column for the recently popular Lycopene (appearing in ketchup ads everywhere!), I think the numbers above cannot be correct. Lycopene is red (in all red or pink foods, even grapefruit). The redder the food, the more lycopene it has. Thus, roasted red peppers have more lycopene than raw peppers, and more than raw tomatoes. In addition, lycopene is more bioavailable when cooked, so tomato sauce trumps raw tomatoes for this nutrient (though not for vitamin C–again, we’re back to variety, variety, variety). If you have nutritional information on roasted red peppers, please post it below, especially if you know about its lycopene. Meanwhile, sprinkle some diced roasted red peppers on your salad tonight and enjoy. (Add pine nuts and you’ll think you’re in heaven!)

LOW CALORIE BURGER

I made Taco Soup over the rainy weekend, a recipe I copied down at Weight Watcher’s last week. It’s basically pinto beans, hominy, canned tomatoes with chiles and a packet of taco seasoning.The leader said the entire recipe was 63 WW points value. It looked to me like it would yield 5.5 quarts, thus 11 2-cup servings would be 5 points each. She said it was 8 servings, so a serving would be 8 points. (I had to leave out one can of beans and 2 cups of water due to the size of my crockpot, about 3.5 quarts.) I thought it would be easy to do the math and get to the truth. I looked up 90% lean ground beef for the three numbers Weight Watcher’s uses. Product Calories Fiber Fat Points 90% lean ground beef pound 798 0 45 21 My first problem is my WW slide rule for points values does not go up to 45 grams of fat, or even to half that. Dividing the calories and fat into thirds, I arrived at the numbers above. When a recipe calls for a pound of ground beef, I use one bag of recipe crumbles, 12 oz. I don’t know what the equivalent of a pound is, but a pound of ground beef might cook down to about the same size as 3/4 pound of crumbles, because the crumbles will have less shrinkage due to fat separation. Has anyone conducted an skillet beside skillet comparison? Here are the Morningstar Farm Recipe Crumbles compared with 12 ounces of 90% lean ground beef: Product Calories Fiber Fat Points Crumbles 12 oz. 480 18 15 10 Beef 12 oz. 599 0 34 14 It’s easy to see the recipe crumbles save points two ways: they have far fewer calories and they have more fiber. Using the Weight Watcher’s points value calculation, one cannot count more than 4 grams of fiber per serving. The points in the chart above recognize the four-gram limit. However, no one is going to eat 12 ounces of burger crumbles or 96 ounces of taco soup! I’m at a loss to calculate either the whole pot of soup points or the points in one serving. Conclusion: In a spicy dish like chili or taco soup, your omnivorous friends are unlikely to miss real ground beef, especially the 90% lean variety. The crumbles will make the dish less greasy, and a solid white film will not form over the refrigerated leftovers. (The film would be solidified saturated fat from meat.) Save yourself huge calories by enjoying MSF Recipe Crumbles, in the freezer aisle near Boca Burgers. *Weight Watcher’s, Points Value, Morningstar Farms, yada yada, are all trademarks of their respective companies.

CARA CARA MI AMOR

I’ve fallen in love with a new food. Just this winter did I run a taste test on apple varieties to decide which I like best. I’d never thought to run such a test on navel oranges. I mean, they’re navel oranges, aren’t they? Then I cut one open that was more red than a pink grapefruit (Texas pink grapefruit are the best…I like Florida for oranges). I thought about blood oranges, which have become fashionable in high-end restaurants for glazes, etc. This orange was the sweetest, tastiest I recalled ever eating. The white pulp was tender and filling (citrus white linings are supposed to help reduce cravings when you’re quitting smoking). The checkout code said “Cara Cara.” The next morning I cut open my second Cara Cara. It was as salmon-colored and sweet as the first. I went from a person who knew navel oranges came in different sizes, but not different varieties, to being totally enamored with this variety. I don’t know where I got them, but I’m sure they were on sale, because that’s how I buy oranges. I asked the produce manager at Basha’s if they had Cara Caras. He said they come in in April. Every website I’ve seen talking about them say the middle of winter–December and January. I recommend you look for them everytime you go to the store. When you find them, make note of the season. I’ve read they are not good if purchased at the end of the season (last summer’s peaches all rotted from the inside out after the first picking–I quit buying them after doing some Internet research on the cause of the blight). When you find Cara Caras, please let us know when and where. And tell us, are they a new love for you?

SKINNY BUNS

Almost everyone who talks with me about the dietary aspects of their health regimen mentions cutting back on or eliminating bread. They offer various reasons such as celiac disease, gluten intolerance, carb addiction, etc. In most cases, their reasons affect body weight, or what I’m calling here today a desire for skinny buns. Years ago, someone taught me the best way to enjoy a hamburger – especially if trying to appear normal, was to remove the bun, and use your four fingers clinched together to scoop out most of the bready part, leaving the crust, and thus the appearance of a bun. Do this to both top and bottom pieces and you have a thin bun, about half the bread, and something to keep the mustard and catsup off your hands as you eat your burger. If you’ve participated in burger eating while reducing or eliminating bread, you’ve probably also done the lettuce wrap. Realizing the best part of a burger – especially a veggie (vege) burger – is the condiments, pickles and mustard wrapped in lettuce around a burger make a pretty good meal, albeit a bit light. Oroweat was first on the scene with a skinny bun for your skinny buns. Their Sandwich Thins come in multigrain, whole wheat and honey wheat. I prefer the flavor of multi-grain anything to whole wheat, and appreciate the additional micronutrients variety adds to my health. Sandwich Thins were so popular when they arrived in Sedona, most stores sold out before the entire Weight Watchers membership could buy them! Oroweat Sandwich Thins Calories 100 Fat 1 gram Fiber 5 grams WW pts* 1 One slice of the bun is a bit thin, usually tearing in half before the burger is consumed. And of course they’re better lightly toasted. I found this ingredient listing on kaboodle.com: Whole wheat flour, unbleached enriched wheat flour [flour, malted barley flour, reduced iron, niacin, thiamin mononitrate (vitamin B1), riboflavin (vitamin B2), folic acid], water, cellulose fiber, wheat gluten, yeast, sugar, cracked wheat rye, polydextrose, salt, ground corn, canola and/or soybean oil, preservatives (calcium propionate, sorbic acid), grain vinegar, guar gum, cultured wheat flour, brown rice, oats, mono-glycerides, soybeans, triticale , barley, flaxseed, millet, citric acid, sodium stearoyl lactylate, sucralose, soy lecithin. A newcomer to the skinny buns category is by Earth Grains, a proud supporter of The Nature Conservancy. You can probably see where I’m going with this. EarthGrains Thin Buns Calories 100 Fat 1.5 gram Fiber 4 grams WW pts* 1 I made my decision rather hastily when I picked up the Earth Grains. First of all, they’re a little bigger, at 4.25-4.38 inches across. (I don’t have a Sandwich Thin in the house to measure; do you? If so, post below.) Secondly, there’s no white flour. Third, the ingredient list is 18 instead of 28 (plus the 6 ingredients added to the white flour after the bran and germ were removed – at least they left out the bleach!). EarthGrains ingredients: Whole wheat flour, water, sugar, wheat gluten, oat fiber, yeast, soybean oil, cultured wheat flour, salt, distilled vinegar, guar gum, enzymes, enzyme-modified soy lecithin, Raisin juice concentrate, Wheat bran, Milk, Soy flour, Sesame seeds. Note: there is milk in the EarthGrains. And not as many different grains. But it appears to my unscientific eye there are fewer chemicals. No artificial preservatives, so refrigerate or freeze them! Plus, if you’re going to believe the EarthGrains website, they support individual farmers rather than mega conglomerates–but I haven’t found my way back to that page to recheck their statements. Anyway, enough time on skinny buns! I love them, though I still limit myself to only one or two a week. You have to know your body and what it can handle as well as what makes it thrive. All trademarks are owned by their respective registrants. *Weight Watchers Points Value was obtained by using my official Weight Watchers Points Finder and the nutritional information given by the manufacturers.

GREENS

These might be turnip greens. Or mustard greens. I’ve forgotten since I took the picture last week and didn’t have time to post it till today. I found a turnip in the fridge later–that would have been a reasonable pairing: turnip and turnip greens! But the day I fixed this for lunch, I was all out of ideas, so I Googled for a recipe. I quickly found one posted by a person who loves beans and greens. She pictured white beans, like Great Northerns, in her recipe. That looked nurturing for a winter lunch. Staring at the wall of canned beans in my pantry, I said aloud, “Why not Garbanzos?” I can’t call this a recipe, because all I did was steam the greens in salted water and toss in a couple spoonfuls of garbanzos to cook long enough to reduce that canned-bean crunch garbanzos usually have. Enough protein to be satisfying, and enough greens to be light and healthful. It would have been prettier had I ladled the beans on top of a mound of greens, but this way, I had only one pot to wash! One reason I don’t remember whether they were turnip or mustard greens is because I’ve been buying both, along with spinach. In our post on eating color, I recommended following Dr. Michael Gregor’s advice to eat across the spectrum. Each plant food has a different composition. You’ll get different nutrients from broccoli than from apples, and different nutrients from turnip greens than from mustard greens. So eat them both. Eat them all. I haven’t had collard greens since I lived in the South where it was customary to boil them all day. But I will try them. I also enjoy red Swiss chard. Sunday night I made fresh spinach with sliced button mushrooms and diced onions. That was a family hit. (Whatever it takes to get people to eat spinach!) What are your favorites and how do you prepare them?

BETTER THAN INSTANT OATMEAL

Oatmeal is good for you. Check out oatmeal’s nutritional stats. It can help lower cholesterol. It has soluble fiber – good for irritable bowel syndrome and related disorders. It’s warm. It feels nourishing while it is being nourishing. Why don’t we eat it more often? Because we think it’s too much trouble! I’ve experimented with instant oatmeal, both brand name and generic. As well as whole rolled oats, steel cut oats and quick oats. As far as I’ve been able to determine, they all have the same nutritional value. (If you have different information, please cite your sources below.) Oats are not separated or degermed when processed. They are just cut or rolled, or cut and rolled. Nothing is removed except the inedible husk. So rather than spending three-times the cost of oats for instant oatmeal, follow my recipe below. Place on paper plate in microwave oven. Heat for two minutes (four presses of the express button!). The paper plate will catch overflow as well as help you remove your cereal without being burned. (If there was overflow, use a larger bowl or less water next time.) For creamier oatmeal, add more water. For dryer oatmeal, add less water. Once you’ve visualized these measurements, you can pour oats into your bowl, hold the bowl under the filtered water tap, and pop it into the microwave without measuring. I find adding toasted, slivered almonds balances the flavors, offsetting the need for sweetener. Slice a banana onto it, add some berries, stir lightly and enjoy. Occasionally, I add almond milk to thin it out and cool it down for my ravenous appetite. Bon appetit. NOTE: Clean your bowl before placing it into the dishwasher. A brush may be necessary. Starches are not usually released during regular automatic dishwashing cycles. Cereals are particularly sticky.